GitHub 위키 이벤트를 슬랙으로 받기 - 1. AWS Lambda 설정
크로키닷컴에서는 GitHub 이벤트(이슈 수정, PR등)를 슬랙으로 확인하고 있습니다. 그런데 아쉽게도 기본 GitHub 슬랙 앱은 GitHub 위키 이벤트는 처리하지 못합니다. 그래서 이를 자체적으로 구현하기로 했습니다.
우선 이번글에서는 AWS Lambda를 통해 슬랙으로 메시지 보내는 방법에 대해서 설명합니다.
외부에서 슬랙에 메시지를 보내기 위해서는 Incoming WebHooks을 설정해야 합니다. 슬랙에서 ‘Apps & integrations’ 메뉴를 선택하면, App Directory 화면을 볼 수 있습니다.
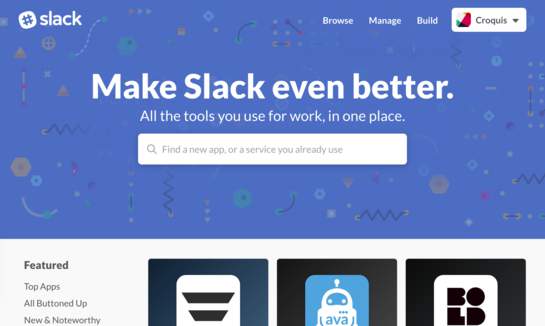
여기서 Incoming WebHooks을 검색하면 선택하면 설정화면이 표시됩니다. Add Configuration을 눌러서 새로운 설정을 추가합니다.
메시지를 받을 채널을 선택하고 Add Incoming WebHooks integration을 누르면 설정이 생성됩니다.
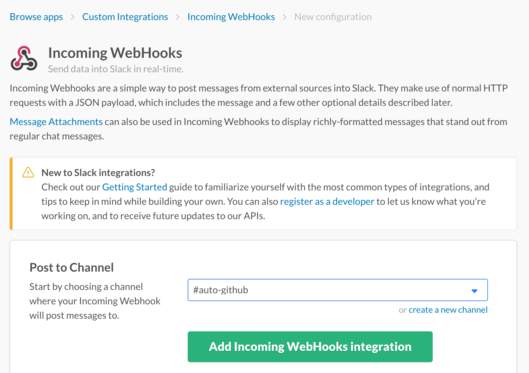
설정을 생성한 후에 몇가지 수정을 할 수 있지만, 여기서는 그냥 넘어가겠습니다. 생성된 설정에서 중요한 것은 Webhook URL 입니다.

밑에 친절하게 예제가 있습니다. 한번 테스트 해보세요.
$ curl -X POST --data-urlencode 'payload={"channel": "#auto-github", "username": "webhookbot", "text": "This is posted to #auto-github and comes from a bot named webhookbot.", "icon_emoji": ":ghost:"}' https://hooks.slack.com/services/<my-webhook-url>위 요청을 Node.js로 작성하면 다음과 같습니다.
'use strict';

const url = require('url');
const https = require('https');

let hookUrl = 'https://hooks.slack.com/services/<my-webhook-url>';

function sendMessage(message) {
  const body = JSON.stringify(message);
  const options = url.parse(hookUrl);
  options.method = 'POST';
  options.headers = {
    'Content-Type': 'application/json',
    'Content-Length': Buffer.byteLength(body)
  };
  return new Promise((resolve) => {
    const req = https.request(options, (res) => {
      res.on('end', () => {
        resolve({
          statusCode: res.statusCode
        });
      });
    });
    req.write(body);
    req.end();
  });
}

const message = {
  channel: '#auto-github',
  text: 'This is a test message'
};
sendMessage(message)
.then((response) => {
  console.log(response);
});
위의 코드를 바탕으로 AWS Lambda 함수를 하나 만들면 됩니다.
‘Select blueprint’ 단계에서 Blank Function을 선택합니다.
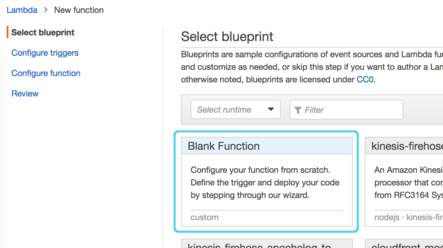
‘Configure triggers’ 단계는 특별히 필요하지 않습니다.
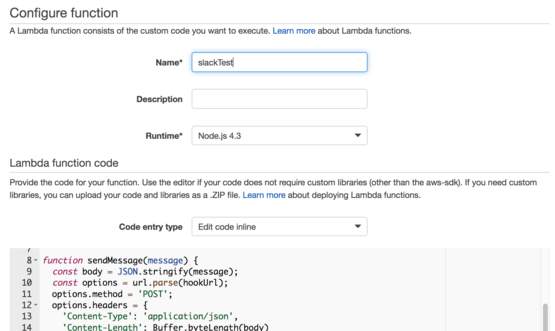
‘Configure function’ 단계에서 함수 이름을 입력하고, 위의 코드를 입력합니다.
다만 exports.handler 메소드에서 메시지를 보내도록 수정합니다.
exports.handler = (event, context, callback) => {
  const message = {
    channel: '#auto-github',
    text: 'This is a test message'
  };
  sendMessage(message)
  .then((response) => {
    callback(null, response);
  }).catch((error) => {
    callback(error);
  });
};
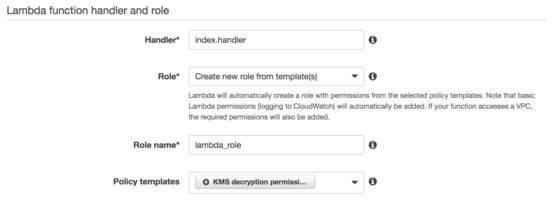
기타 다른 설정은 건드리지 않아도 되지만 Role은 설정해줘야 합니다. 적절한 Role이 없는 경우 템플릿을 통해 생성할 수 있습니다. ‘KMS decryption permissions’을 선택해서 Role을 생성합니다.
‘Next’ -> ‘Create function’을 선택하면 Lambda 함수가 만들어집니다. ‘Test’ 버튼을 눌러 테스트를 하면 설정한 슬랙 채널에 메시지가 오는 것을 볼 수 있습니다.